Making of: the piano room
Table of contents
- Introduction
- Models
- Textures
- Light setup
- Rendering
- Post-processing
- Time-lapse renders
Light setup
The lighting of the scene is very simple. I used only a Physical Sky to illuminate my scene. I also made use of the Physical Camera feature specific to Vray.
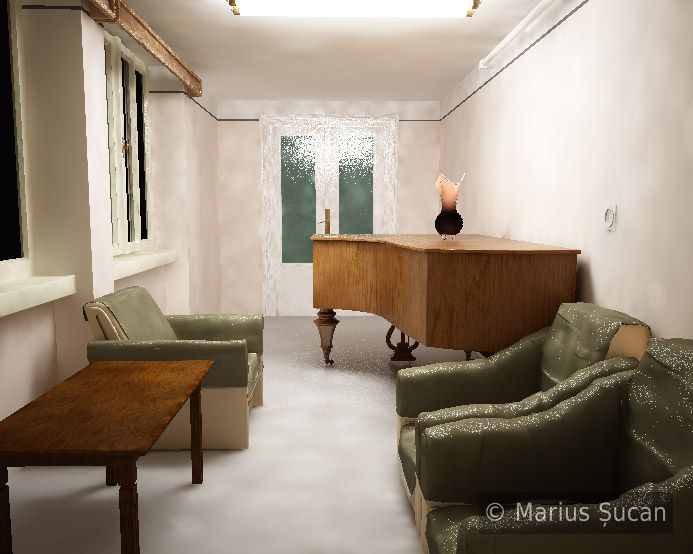
One of the reasons I started the project is the lovely mood I can always experience in sunny summer evenings when the sunlight enters in the room. So, in the initial WIP images, the physical sky was setup to be an evening sky. I managed quite well to get the same sunlight perspective and even the mood. Here are two images, early WIP images:
![Lighting: sunny summer evening [WIP36]](/_astro/evening-sunlight-piano-room-wip36.631688cc_1rLx11.jpg)
![Lighting: sunny summer evening [WIP34]](/_astro/evening-sunlight-piano-room-wip34.e45eb30c_ZzCpmD.jpg)
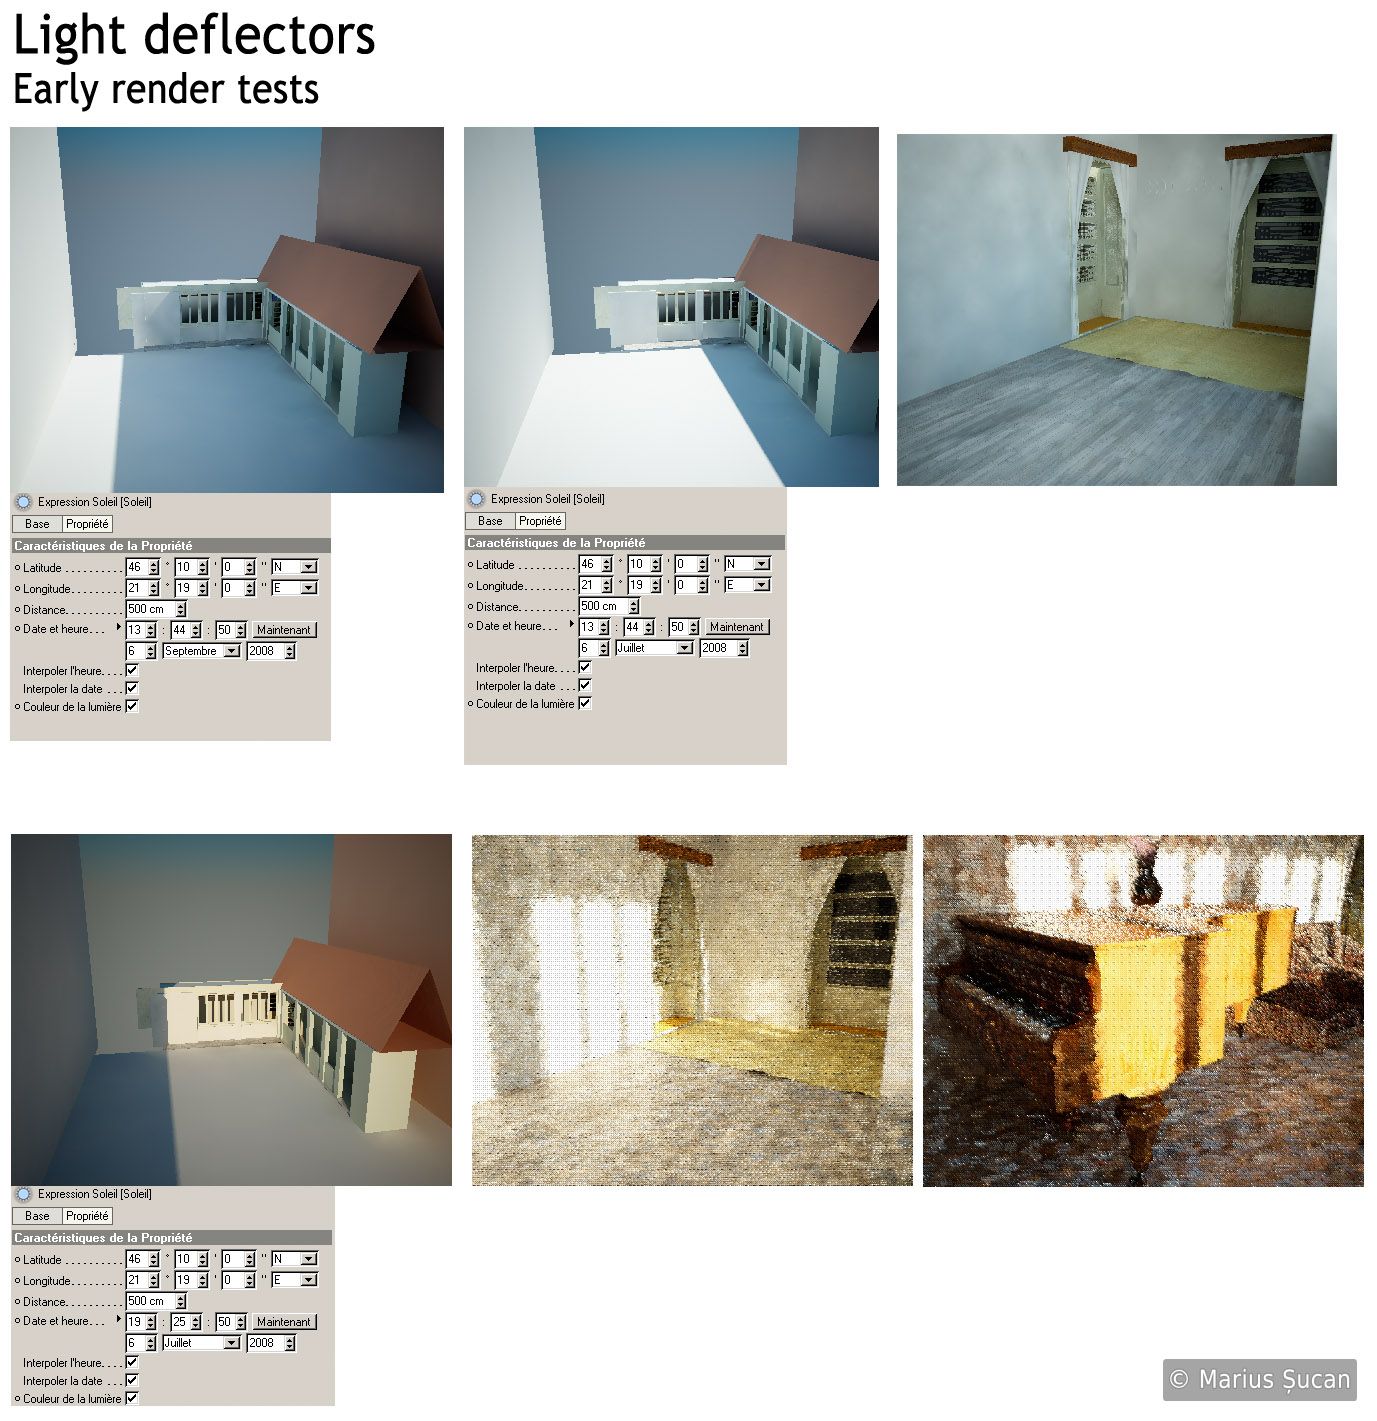
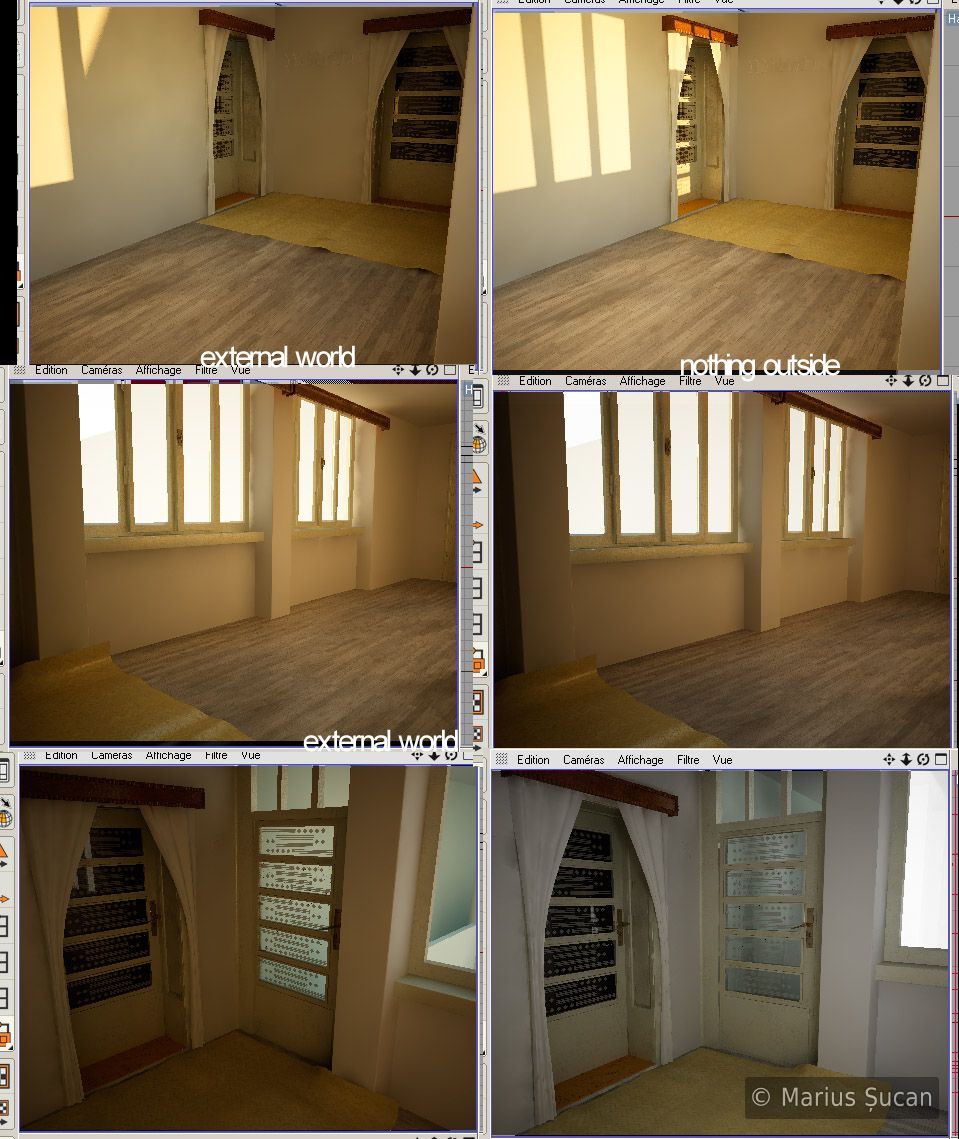
Because the sunlight colours were too yellow I figured it would be best to use light deflectors to tint the lighting. I remodeled roughly the outside world of the room, as such that the light reflects similarly to the reality. The colours were picked similarly to the real counterparts. I used the light deflectors for quite some time, because I thought it is a good thing.
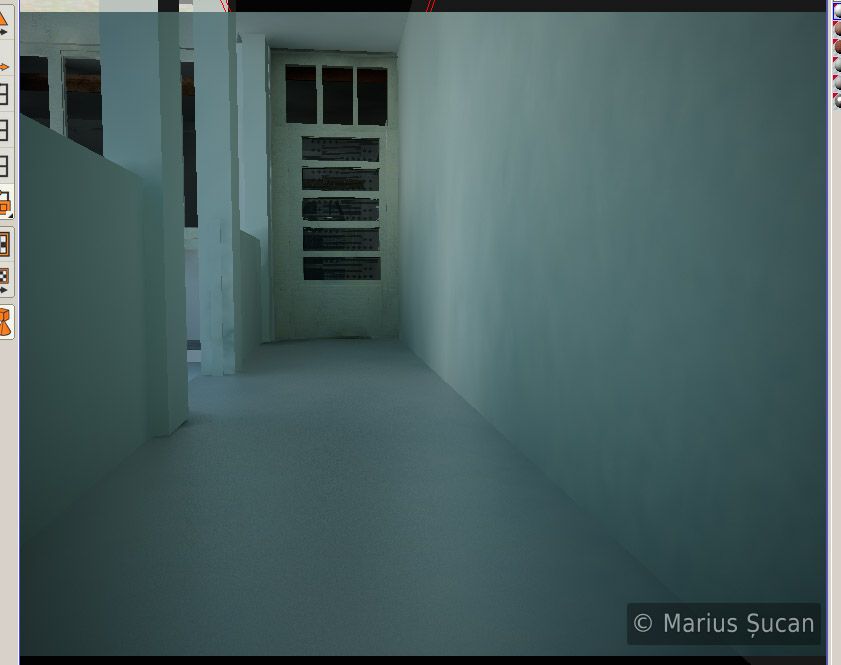
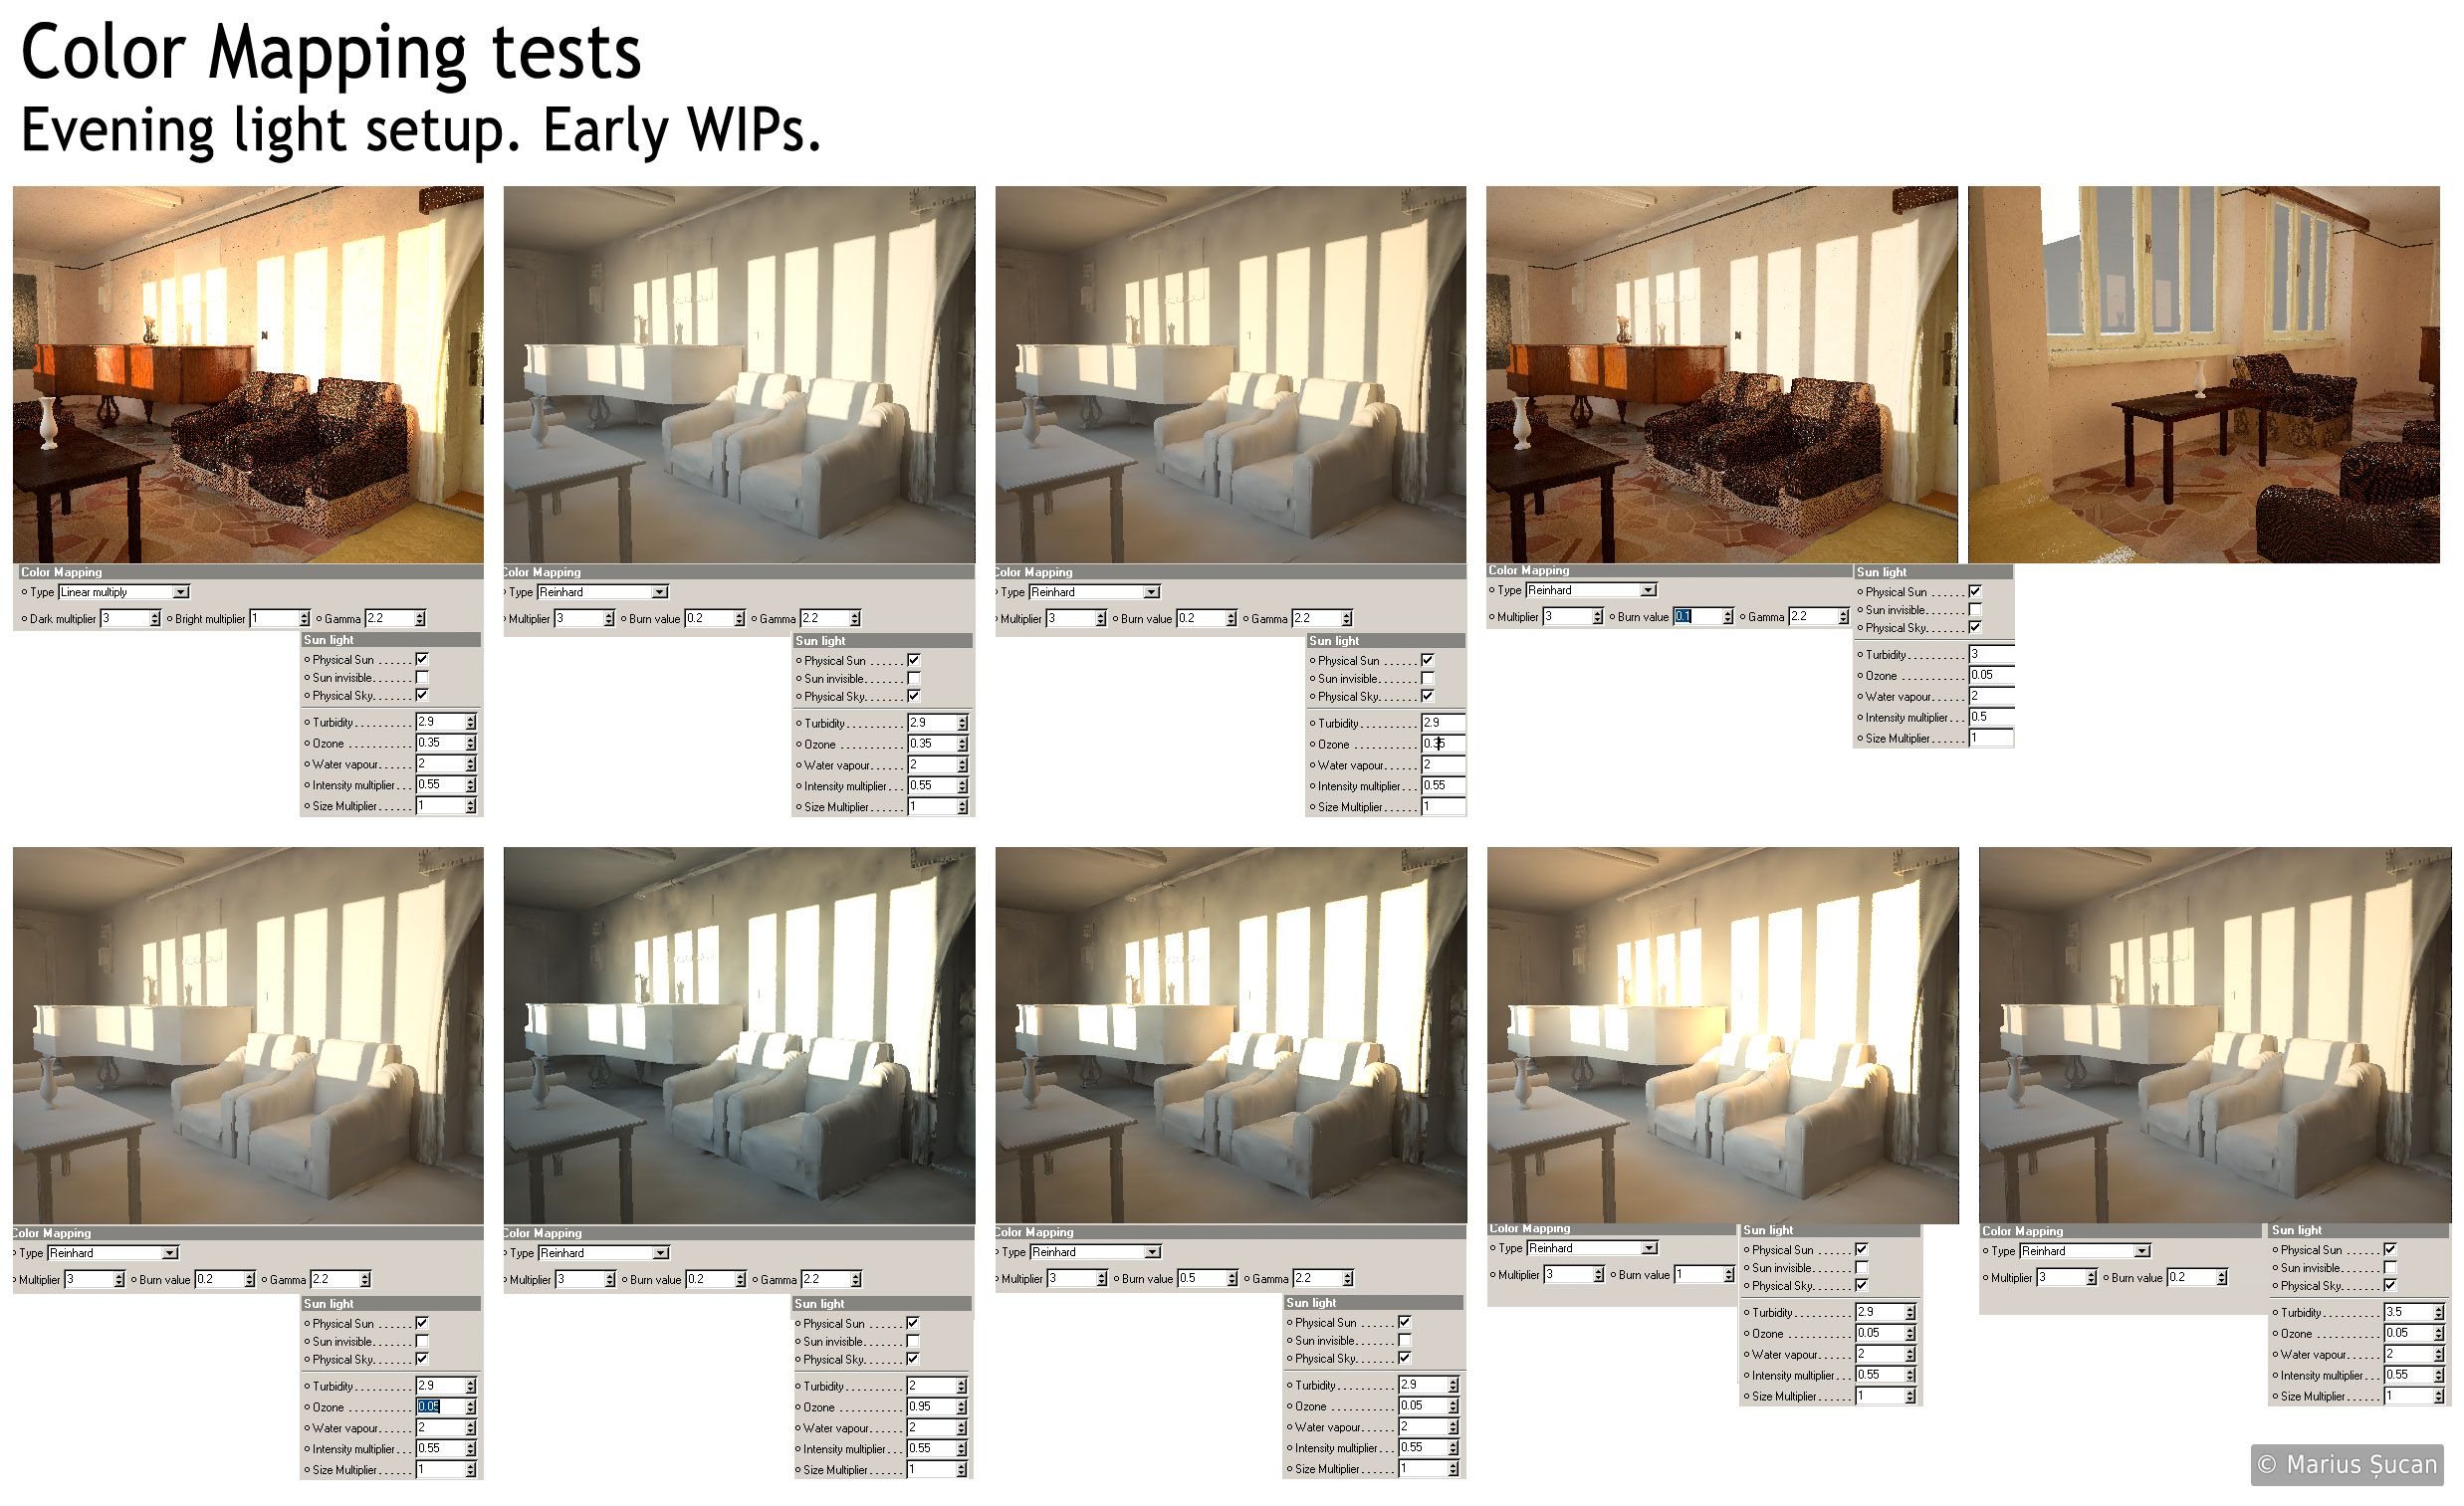
As the scene grew more and more, the interior got darker and darker. The bright sun spots remained really bright, but the shadows were getting too dark, thus I was having too much contrast. In the initial stages I solved this issue by using an HDR image to generate more GI. Then, I informed myself about the LWF technique. I implemented it throughout my entire scene. Then, I dropped the light deflectors and the HDR as well. With this, the project got more delayed, because converting tens of materials to LWF is not a quick task. After doing many render tests, I also decided upon a definitive colour mapping setup. In the end, the light setup changed quite dramatically. This finally solved the issue of having too much contrast.
![LWF: Piano room [WIP 43]](/_astro/lwf-piano-room-wip43c.4a2e5928_1lDhVl.jpg)
![LWF: Piano room [WIP 41]](/_astro/lwf-piano-room-wip41-lc1500-high-adaptivesub-7_44.e6d3322d_Z1uS6Dz.jpg)
![Summer evening sunlight: early clay render [Piano perspective]](/_astro/clay-light-render-tests37.7877058e_1Ji5yn.jpg)
![Summer evening sunlight: early clay render [Armchairs perspective]](/_astro/clay-light-render-tests34.dd76b069_22zd6W.jpg)
![Summer evening sunlight: early clay render [Windows perspective]](/_astro/clay-light-render-tests38.2ad4af5a_Z18vXPa.jpg)
Then, as the project evolved, I realized I could have different light setups for each render perspective. I've made a comprehensive list of renders with different light setups for all the proposed final render perspectives, including a neon based light setup done with area lights. After pondering which one I like the most, from the list of renders I did, I went further with the project by picking the final light setup for each perspective. My concept behind the way I picked is to have a lot of "lights and shadows play", intricate lighting. It was very hard to pick between all the renders, because there were so many lovely moods I could have used.
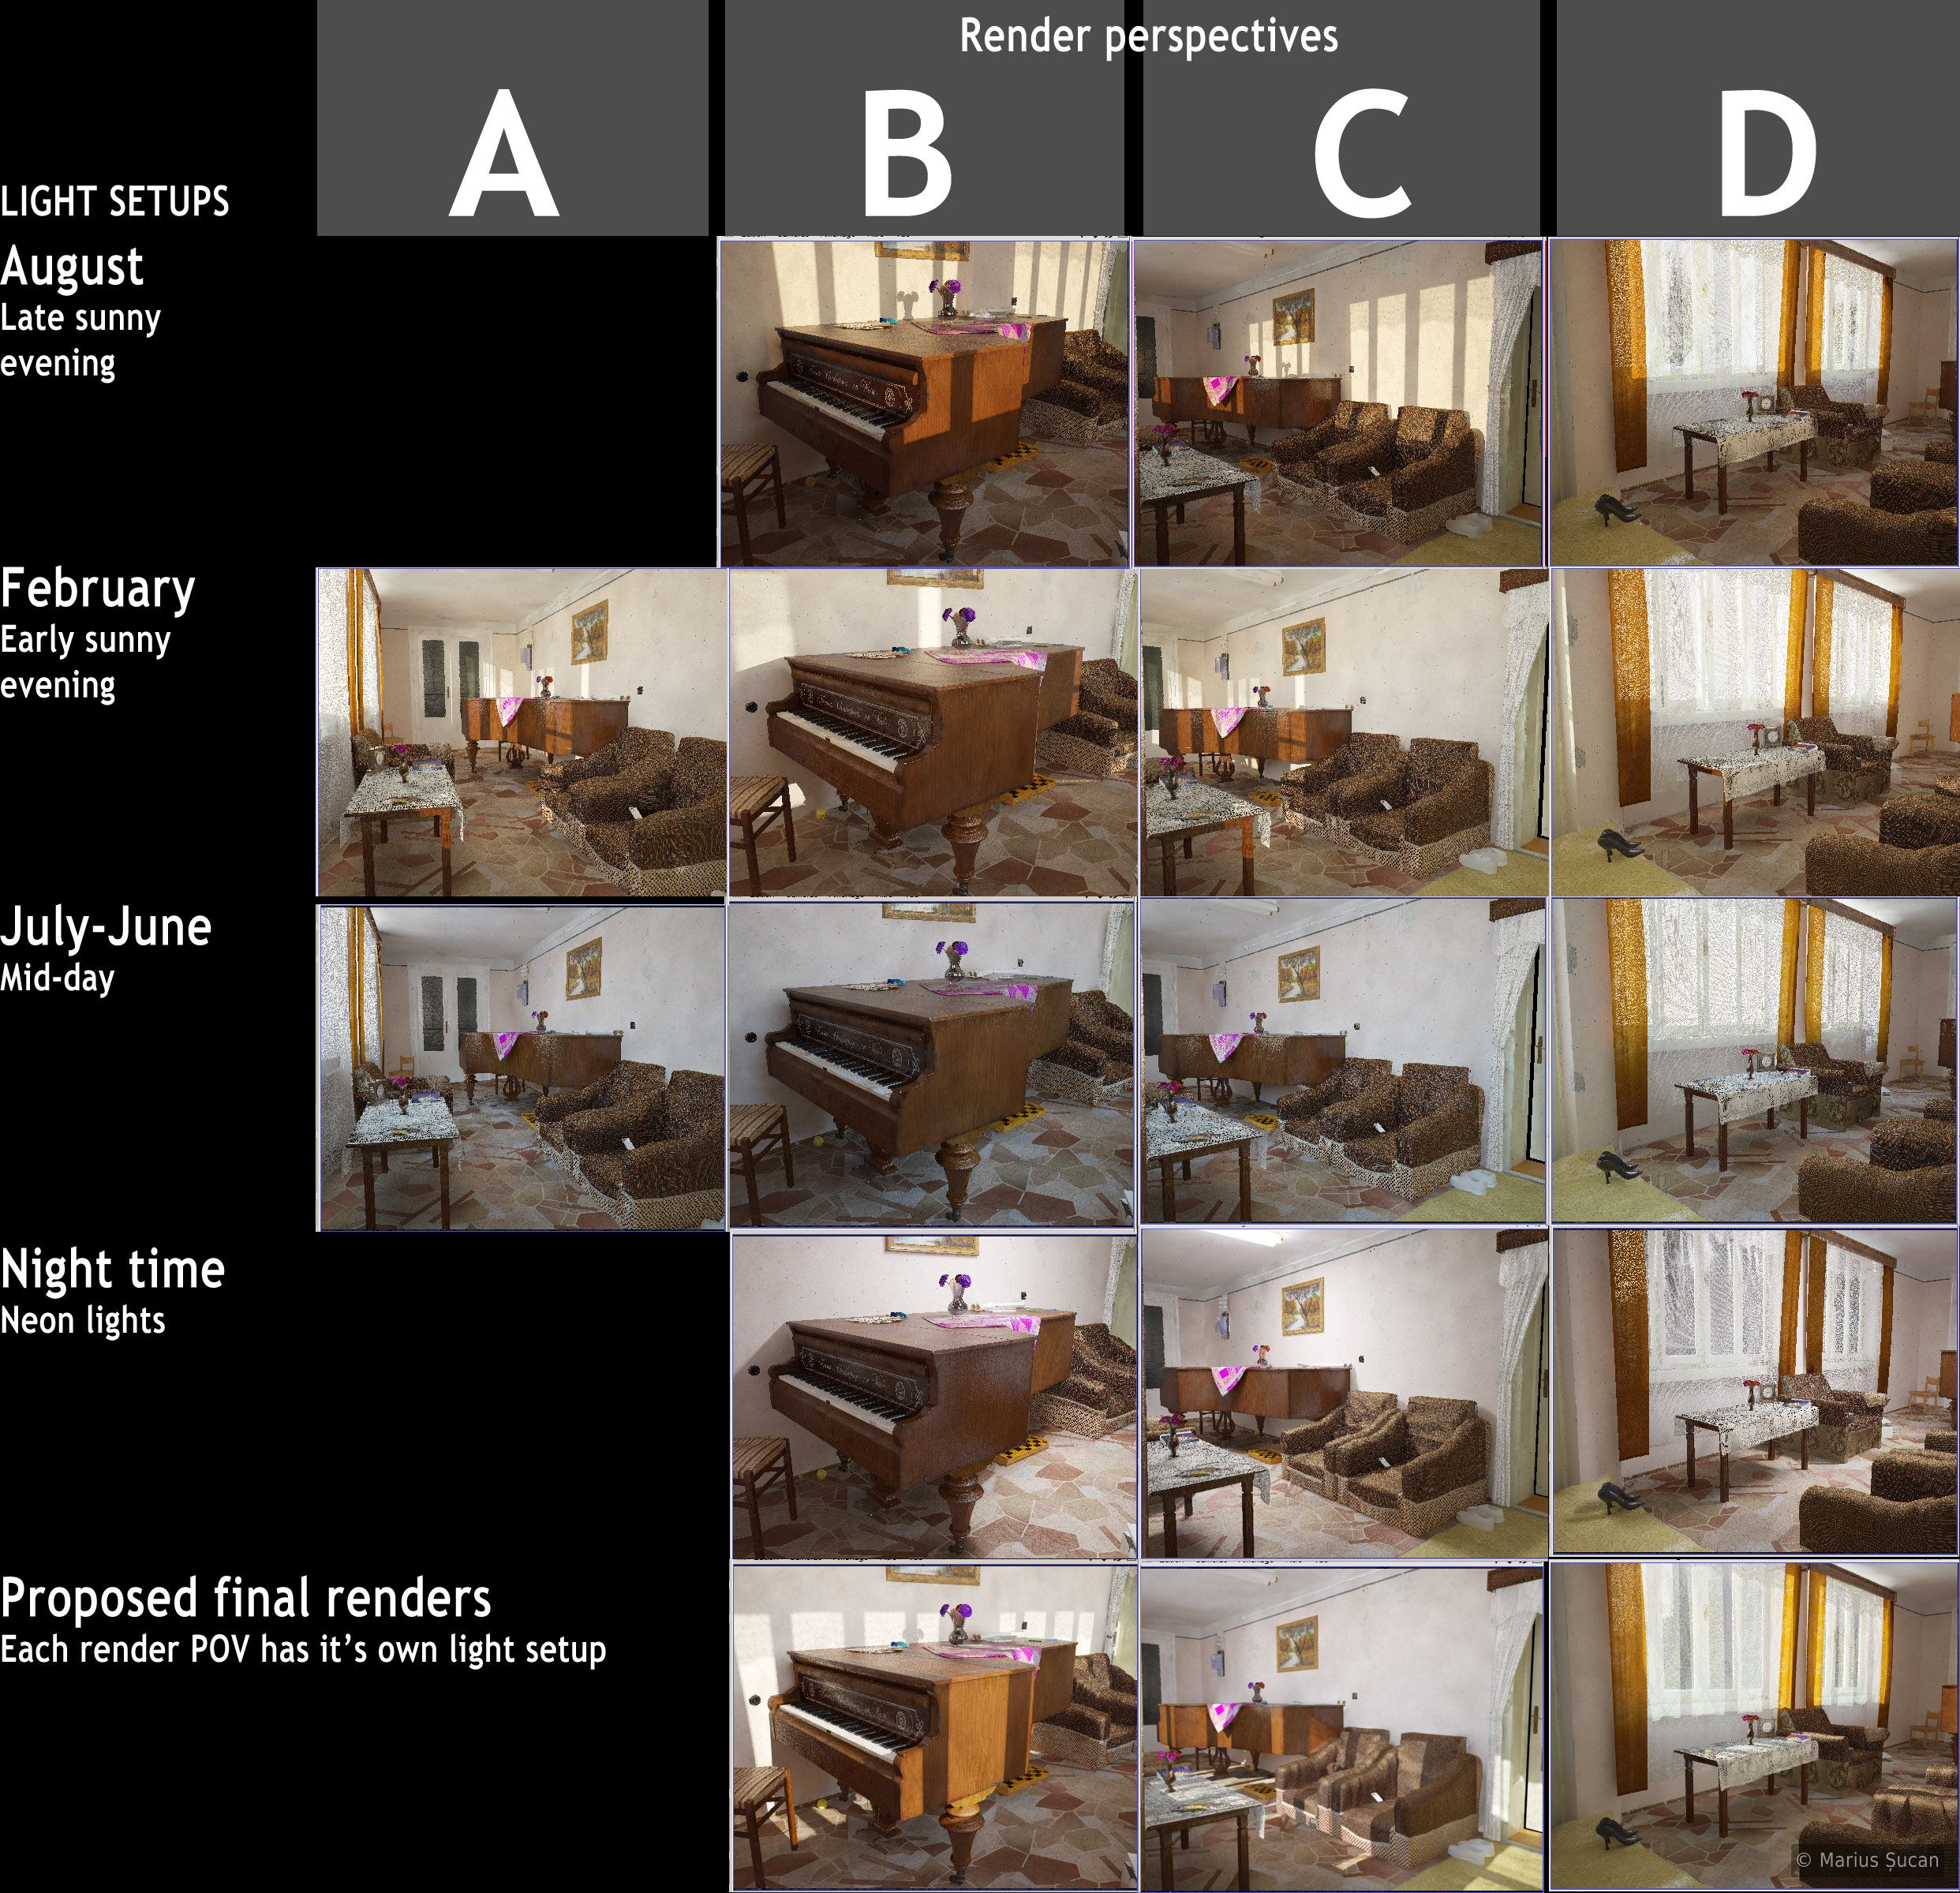
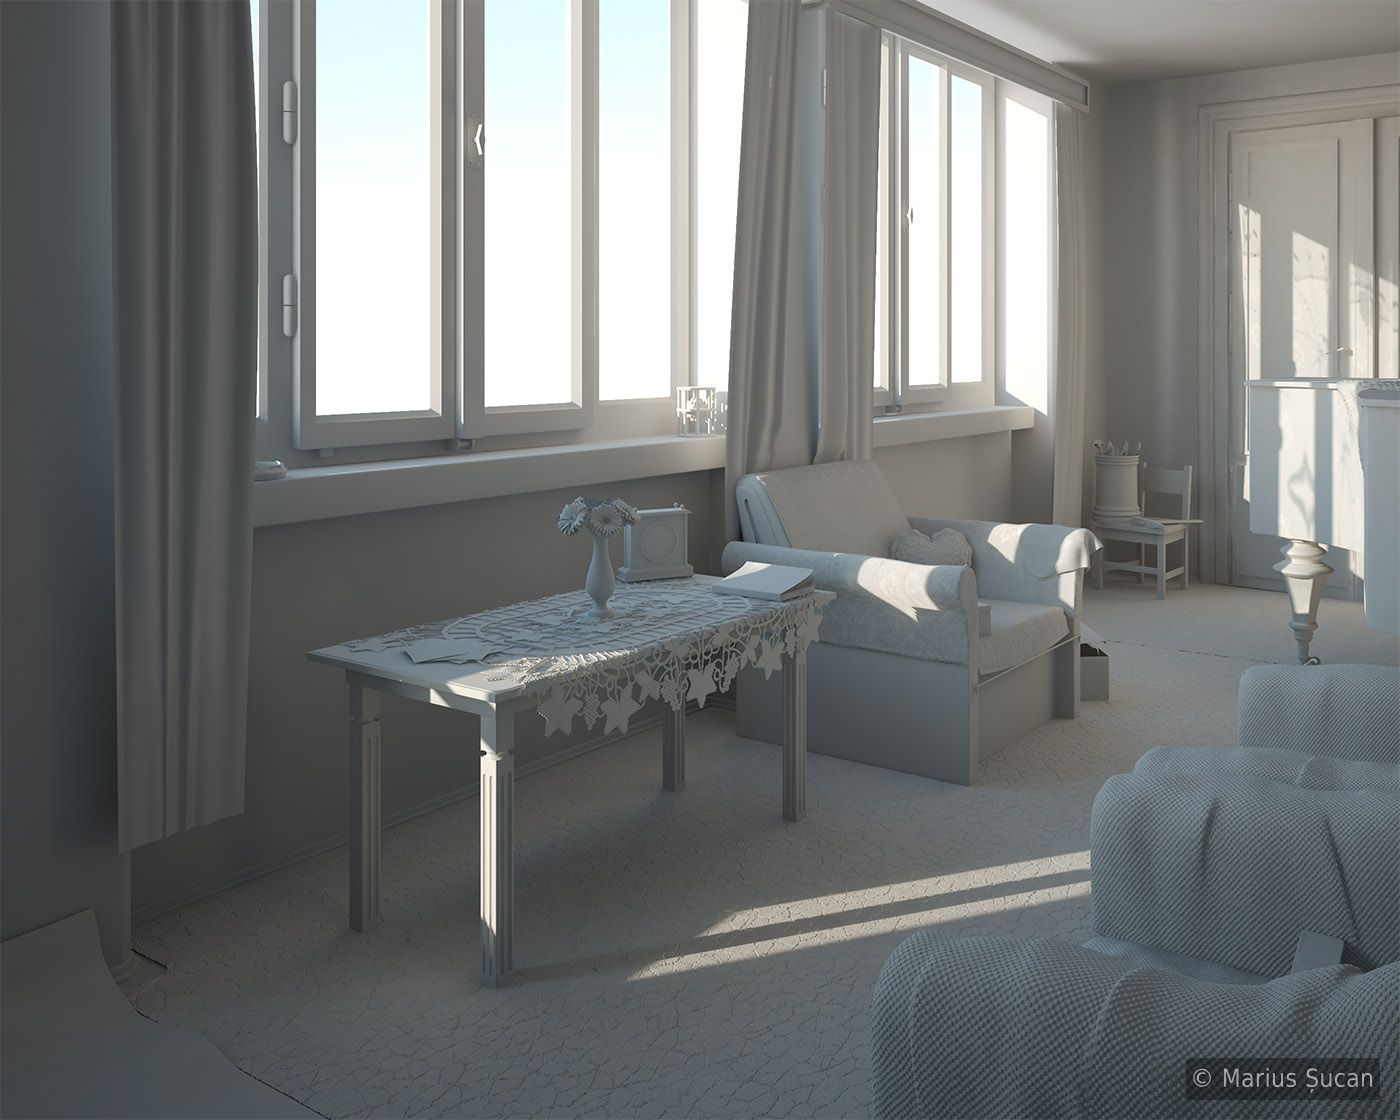
I did clay renders on very high GI quality for the final render perspectives with the chosen light setups, for those interested in seeing how the lighting really is:


I also prepared a neon lights based setup, using area lights. The following clay renders show this light setup:
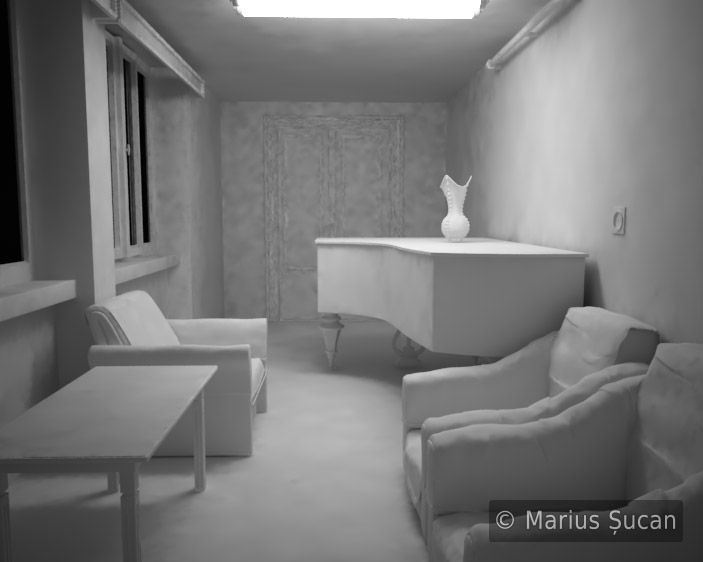
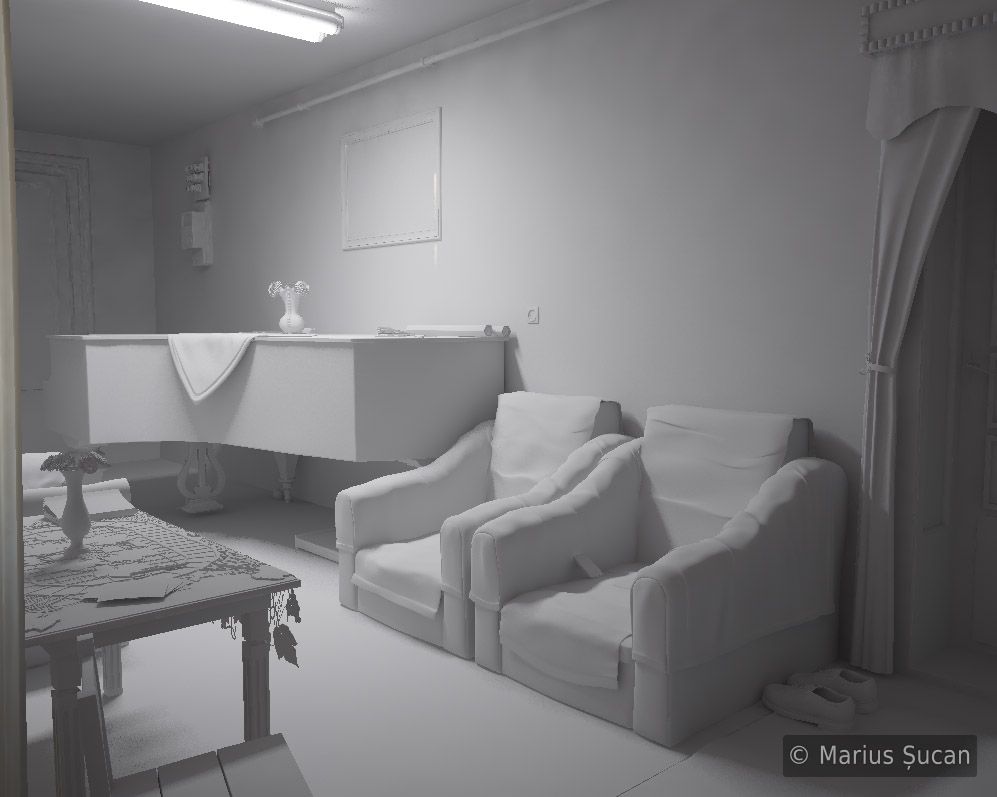
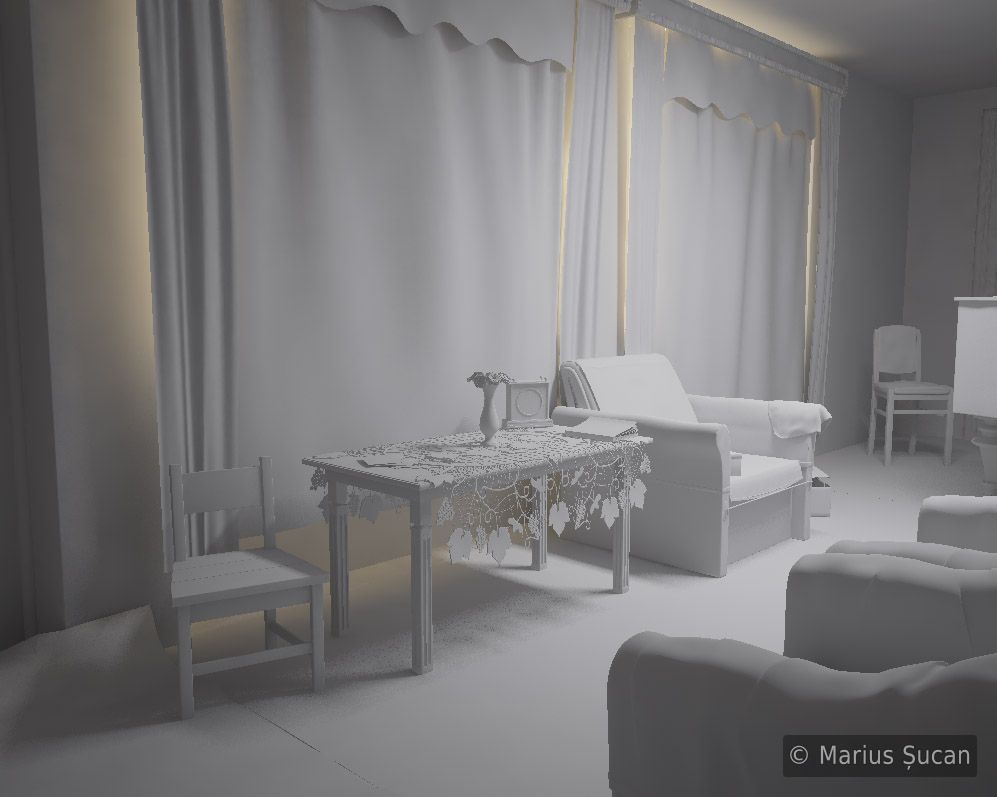
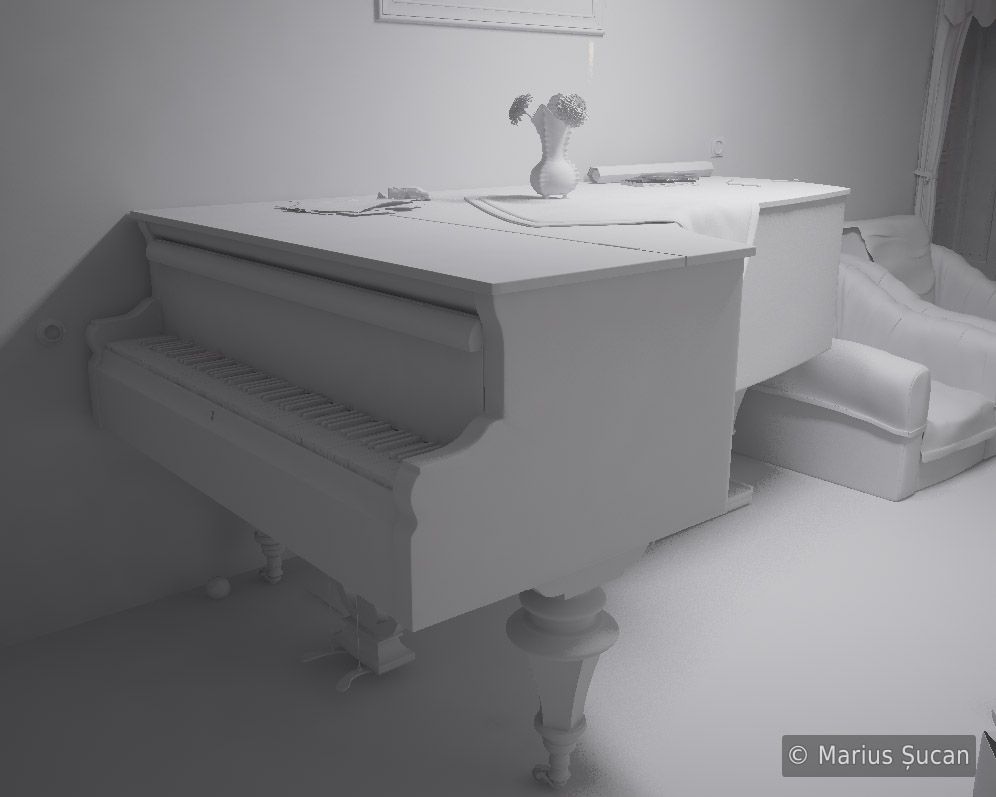
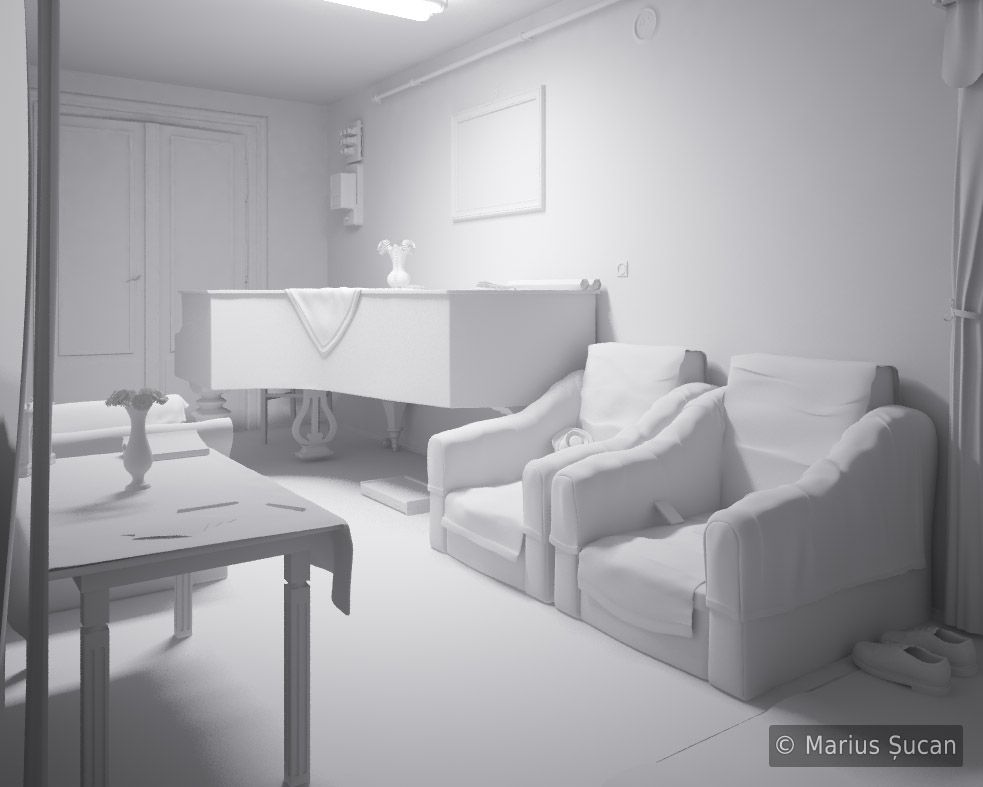
![Neon lighting: Piano room [WIP40]](/_astro/neon-piano-room-wip40.72ed63c8_ZzFdQ7.jpg)
![Neon lighting: Piano room [WIP40b]](/_astro/neon-piano-room-wip40b.801df728_1f2Uh.jpg)